CS178 Assignment 4 - Architecture and Interiors
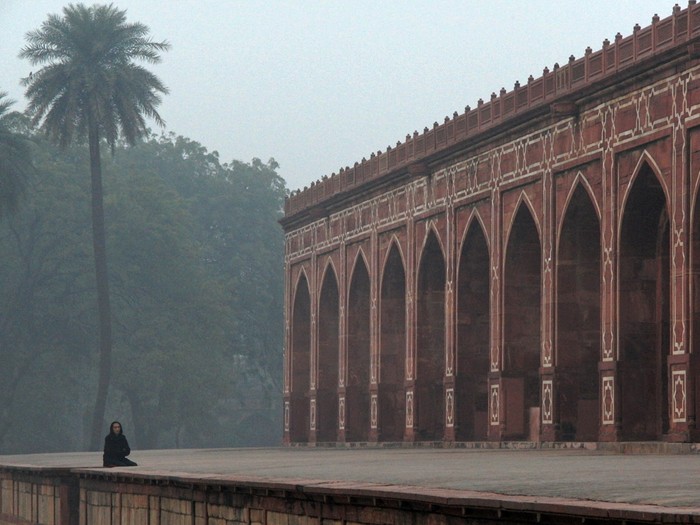
Kneeling figure, Humayun's Tomb. Photo by Marc Levoy.
Motivation
Good photography often shows us the familiar in an unfamiliar way. Taking macro photographs last week, we made small things larger on our computer screens, and saw a level of detail not usually visible. For this reason, with some practice it's quite easy to take a macro photograph that makes a non-photographer gasp. Architecture is harder. This week you'll be taking the spaces people live and work in and trying to fit them into a frame.
Architecture is typically more geometric than natural scenes, so this week is a good week to think about the geometry of your scene. Consider repeating elements, size relationships as they change under perspective, the lines induced by vanishing points, and the texture and weathering of man-made objects. One way to surprise people with architecture and interior photography is by using clever composition to highlight these geometric aspects of structures that are usually overlooked. The requirements this week will get you to play a little bit with geometry, and also to think about the practical concerns of people who need to represent an interior space in a photograph.
Instructions
This assignment is similar in format to the first two. There are five requirements, which you should meet by taking 5-10 photographs. We'll also start getting stricter in our grading this week. Previously we've let slip photographs with minimal comments. This week we will penalize photographs with insufficient comments. You should write at least two paragraphs (ie two picasa comments) below each of your photos explaining what camera settings you used, why you used the camera settings you did, how you composed your shot and why, any interesting story behind the photograph, any image processing done afterwards, and what requirement the photograph meets. We want you to be mindful of your camera settings while taking photographs. Picasaweb will show in the top left what the parameters were, but we want to hear from you why you set them to what you did. Here are some of the sorts of things we'd like to see:
- What did you focus on? Why?
- What size did you set the aperture to? Why?
- What exposure time did you use? Why?
- What settings did you let the camera figure out automatically? Why?
- What focal length (zoom) did you use? Why?
- Why did you take the photo from where you did and include in the frame what you did?
- Did you color correct the image afterwards? Crop it? Sharpen it?
There's no need to include all of these for every shot. Often some of them are irrelevant. For example if there is a single clear subject to the photograph, you need not justify your choice to focus on it. As usual, see the example solution as a guide to how much you should write, and what sort of things you should include.
Here are the five requirements for this week.
- Requirement 1: Vertical vanishing point In at least one of your photos, vertical lines in the world (eg corners of buildings) must visibly converge to a vanishing point either within, or nearly within your frame. To do this, look up, and use a wide field of view (a short focal length).
- Requirement 2: No vertical vanishing point In at least one of your photos, vertical lines in the world must appear parallel in your photograph. You can do this by looking straight ahead when you take the picture and fixing the composition by cropping later. Alternatively, as demonstrated in lectures, you can use Photoshop's perspective warp tool (found in the Edit->Transform menu) to make these lines parallel. You can also use the lens correction tool found in the Filter->Distort menu.
- Requirement 3: Frame your shot At least one of your photos should be shot through a door, window, archway, or other physical man-made frame. The frame should be visible in the photograph, but is not necessarily the subject. The frame need not be rectangular.
- Requirement 4: Man meets nature Take at least one photograph where the subject is neither a man-made construction, nor anything natural, but rather the interface between two such things. For example, where the side of a building meets the ground, or a tree growing through a fence. Be creative!
- Requirement 5: Interior Panorama As real-estate agents know, it's hard to capture the interior of a room without making it look small, and it's usually impossible to fit the entire room in the frame (where would you stand?). We're going to solve this with an interior panorama. Stand in the corner of a small room, or at the center of a large room, and take a sequence of photographs that captures the entire room, rotating the camera about its center of perspective (somewhere in the middle of the lens). Make sure your photographs overlap by about 50%. Then, convert your set of photographs into a single panorama, showing the interior of the room. We want to see the panorama, not the source photographs. Try to find an interesting room to do this in. Interiors are often dim, so pay attention to your camera settings and the available light.
In Photoshop you can make a panorama by going to the File menu, selecting Automate, and then Photomerge. A cylindrical layout usually works best, but you should try the other ones too to see what they do. If the resulting image has obvious artifacts (eg edges that don't line up), you probably didn't rotate the camera about the center of perspective, and need to try again. For this reason, you may want to make multiple attempts before you take your photos back to Photoshop. You could also bring Photoshop with you on your laptop so you can try again easily.
You can also use some other panorama stitching tool, such as autostitch, if you like.
Upload your photos and add comments.
Upload your photos using the Picasa account you created in the first week to a public Picasa album titled "CS178 Assignment 4 - Architecture and Interiors". Add comments below each photo explaining how to you took the photo, what relevant camera settings you used and why, any image processing done to the photograph afterwards, and most importantly, which requirement the photo covers.
Example Solution
We've put up an example solution to this assignment to both let you know what we expect, and hopefully also inspire you to take better photos than the TAs can. You don't have to meet the assignment requirements in the same way as we did - surprise us!One caveat: In our example solutions we may reuse photos we already had lying around, or borrow photos from other people to illustrate a point. Don't do this - your work for each assignment should be done by you specifically for the course.
If you have questions or comments about the photos we used in the example solution, feel free to add them as comments below the corresponding photograph in Picasa Web, or to email us.
Grading
As usual, we will assign grades based on whether you met the requirements of the assignment. For each requirement, you'll be given a check for meeting the requirement, check-minus for not quite meeting the requirement, or check-plus if you do something spectacular that makes your grader's jaw drop.
Due Date
11:59PM, Sunday, April 26, 2009Assignments are generally due on Sunday at midnight at the end of the week in which they're assigned. This leaves you free to start thinking about the next assignment during your next section. Sometimes lateness is unavoidable. Here's the lateness policy from the course outline:
Since the assignments come in rapid succession, it is important that each be completed on time. Replacing photos after the deadline is not allowed, and will be treated as a violation of the honor code. To allow for unforeseeable circumstances, you will be allowed up to two weekdays of grace for up to two of your assignments. Beyond this, late assignments will be penalized by 10% of the grade for that assignment per weekday that they are late. Exceptions to this late policy will be made only in the case of a necessary (non-pleasure) trip approved in advance by the TA for your section, or severe illness. If you do not submit one of the assignments at all, you will fail the course, even if you are taking it pass/fail. In this case, or if you believe you are in danger of failing, it is your responsibility to come talk to us before the end of the course. Incompletes are given only in exceptional circumstances.
FAQ
© 2009 Marc Levoy and Andrew Adams